Proxmox Example
Installation using Proxmox
Application: Running SmoothWAN alongside Ubuntu/Windows or containers.
- Download the VMDK image from the release page.
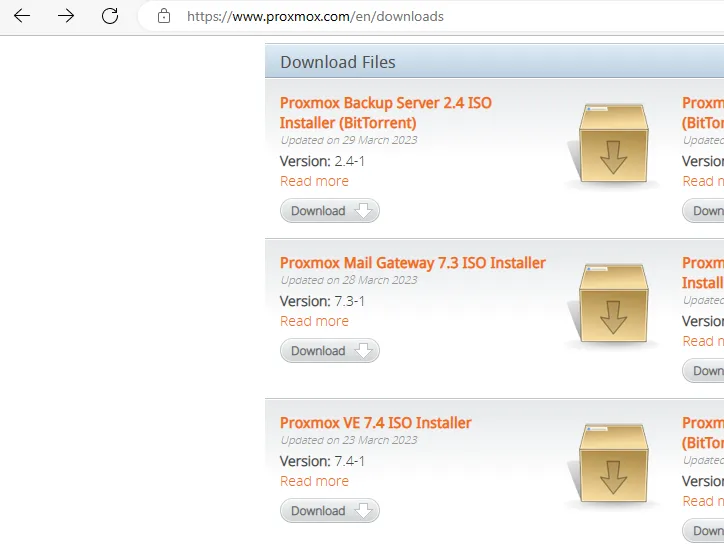
- Download Proxmox ISO and flash to a USB drive using balenaEtcher:
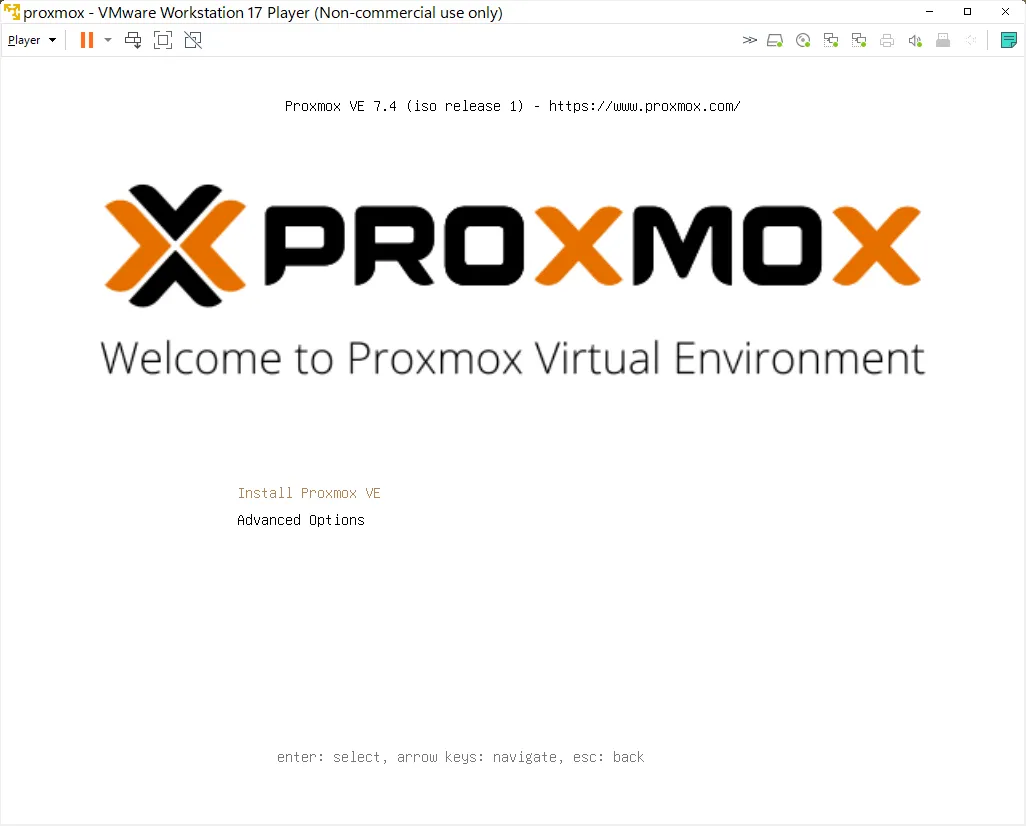
- Boot up your PC/server with the USB drive plugged in (you may have use the boot menu to select the drive)
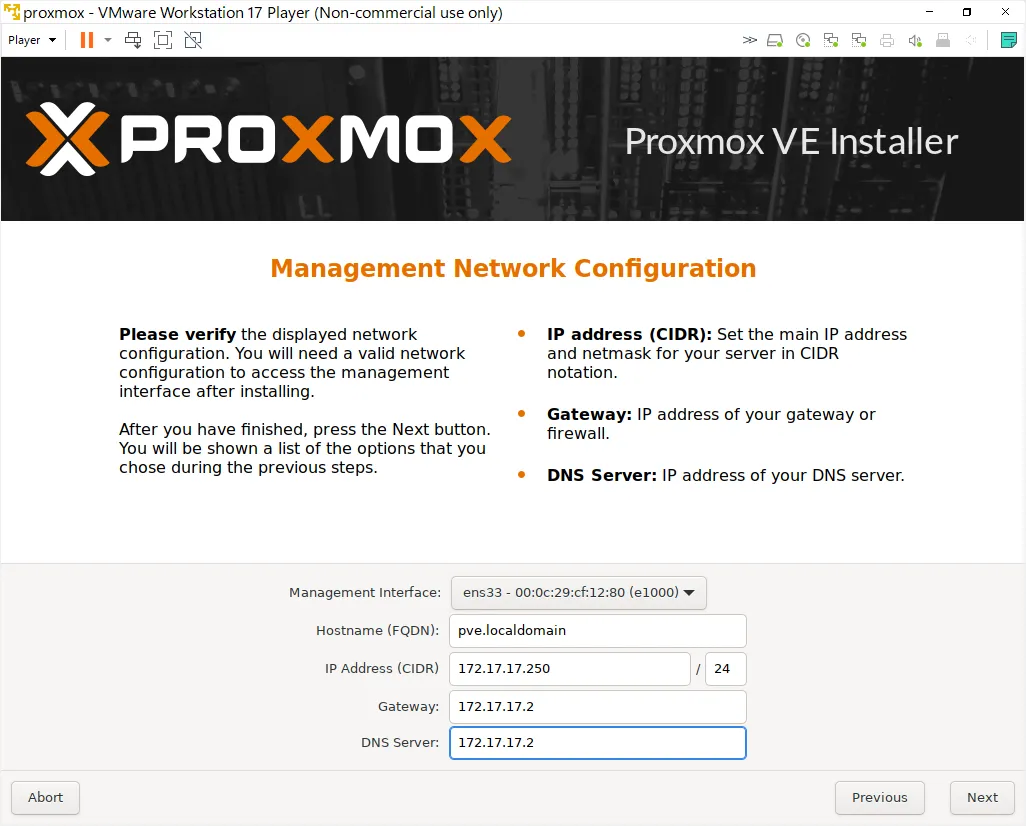
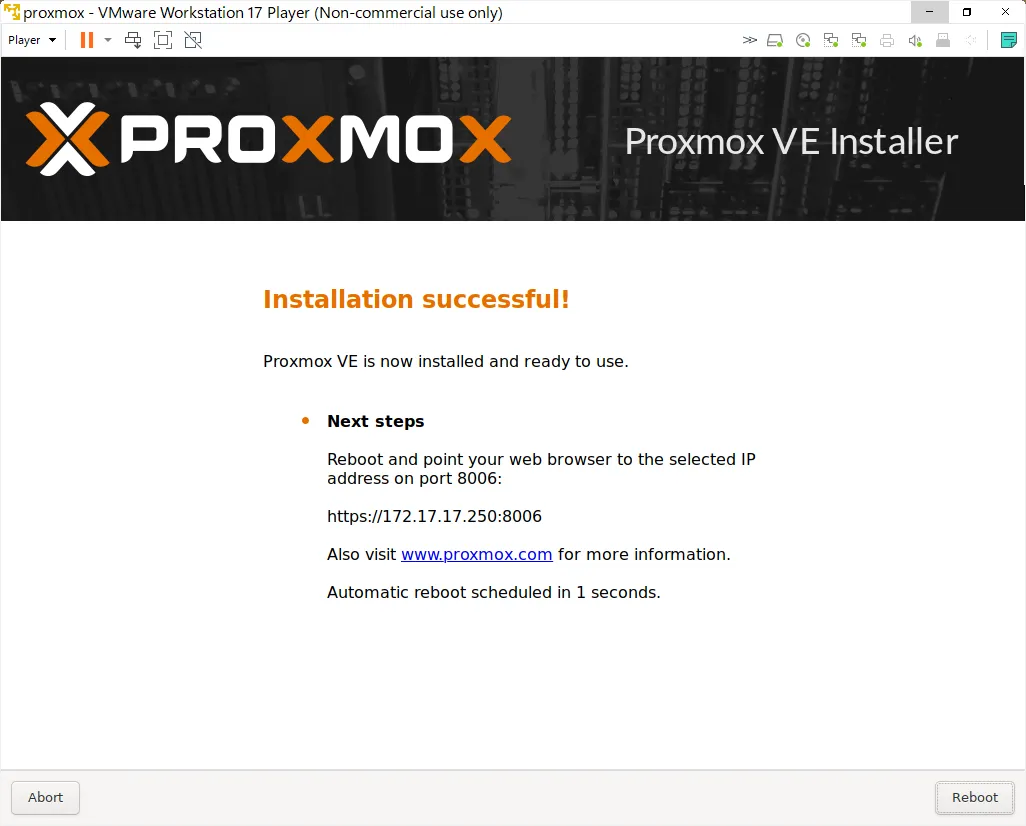
- Follow the screenshots and set the IP address within the subnet of SmoothWAN (172.17.17.0/24)


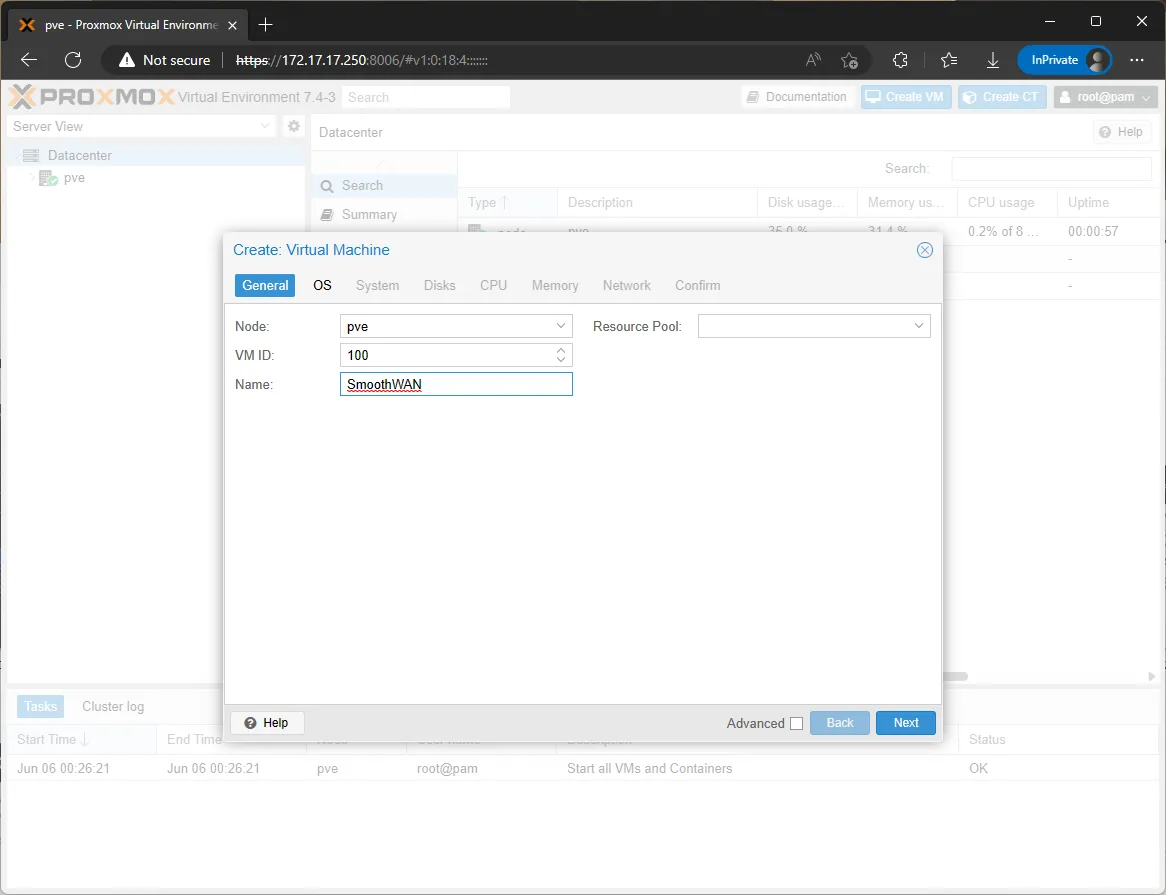
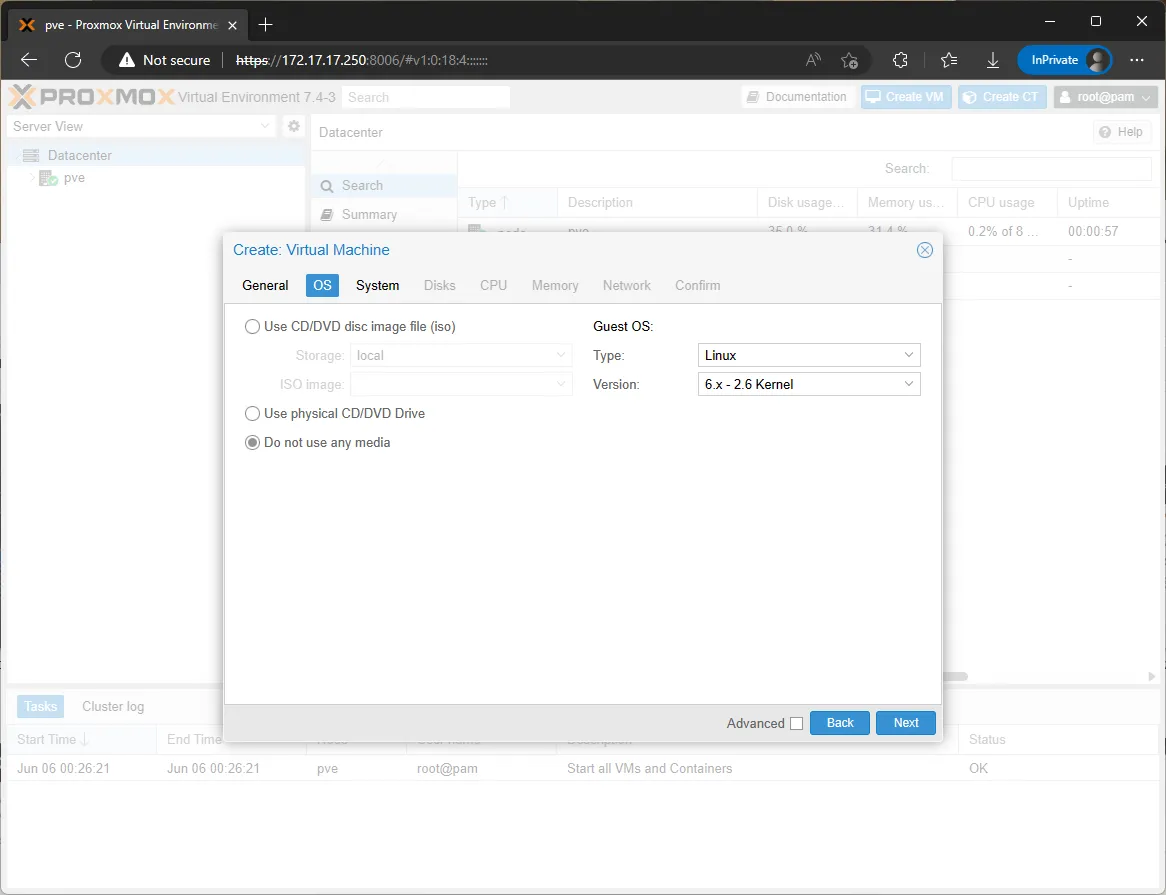
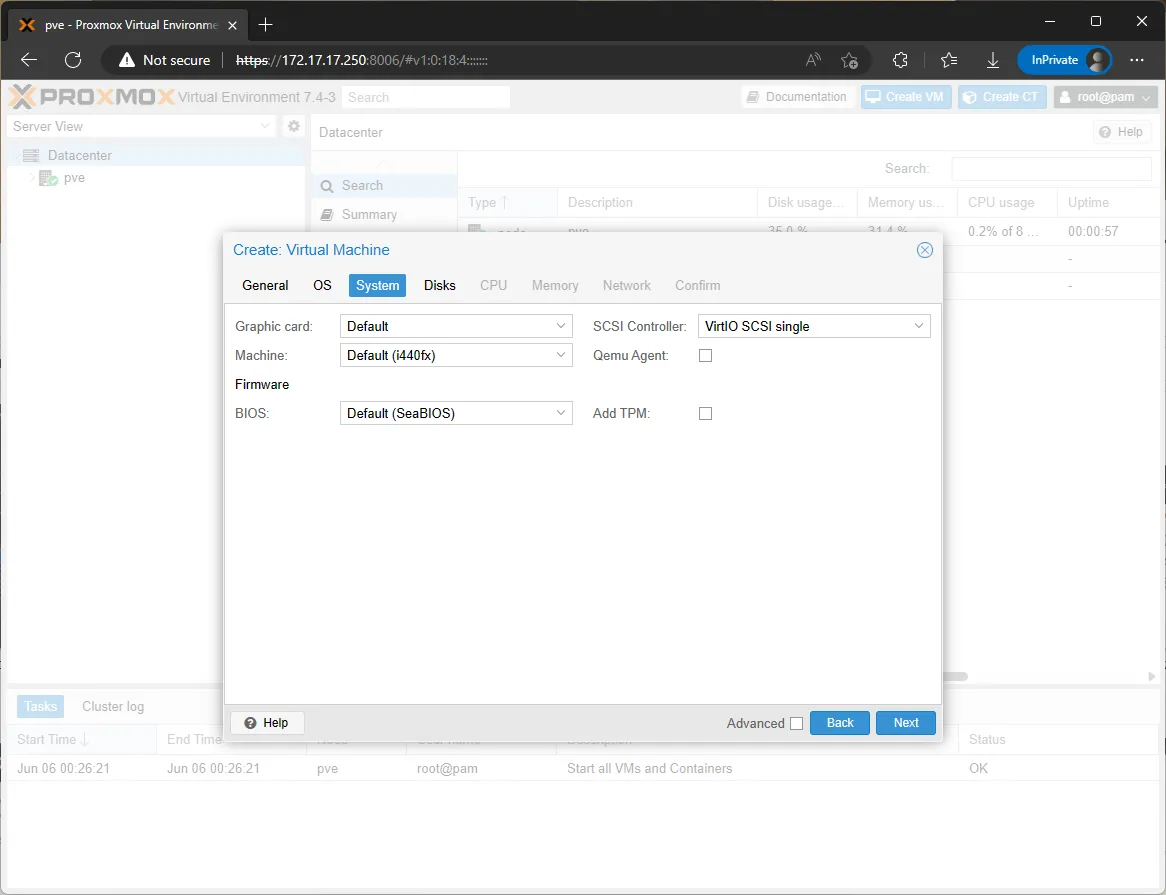
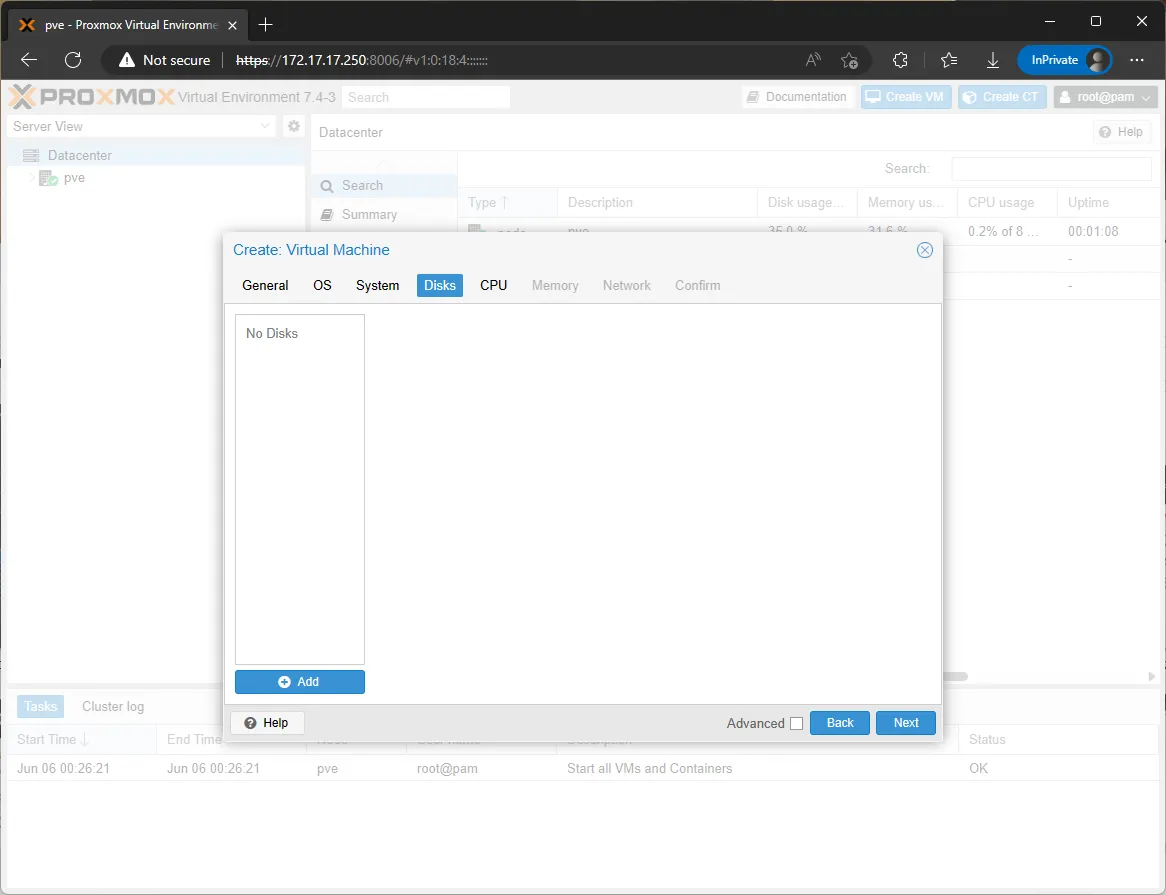
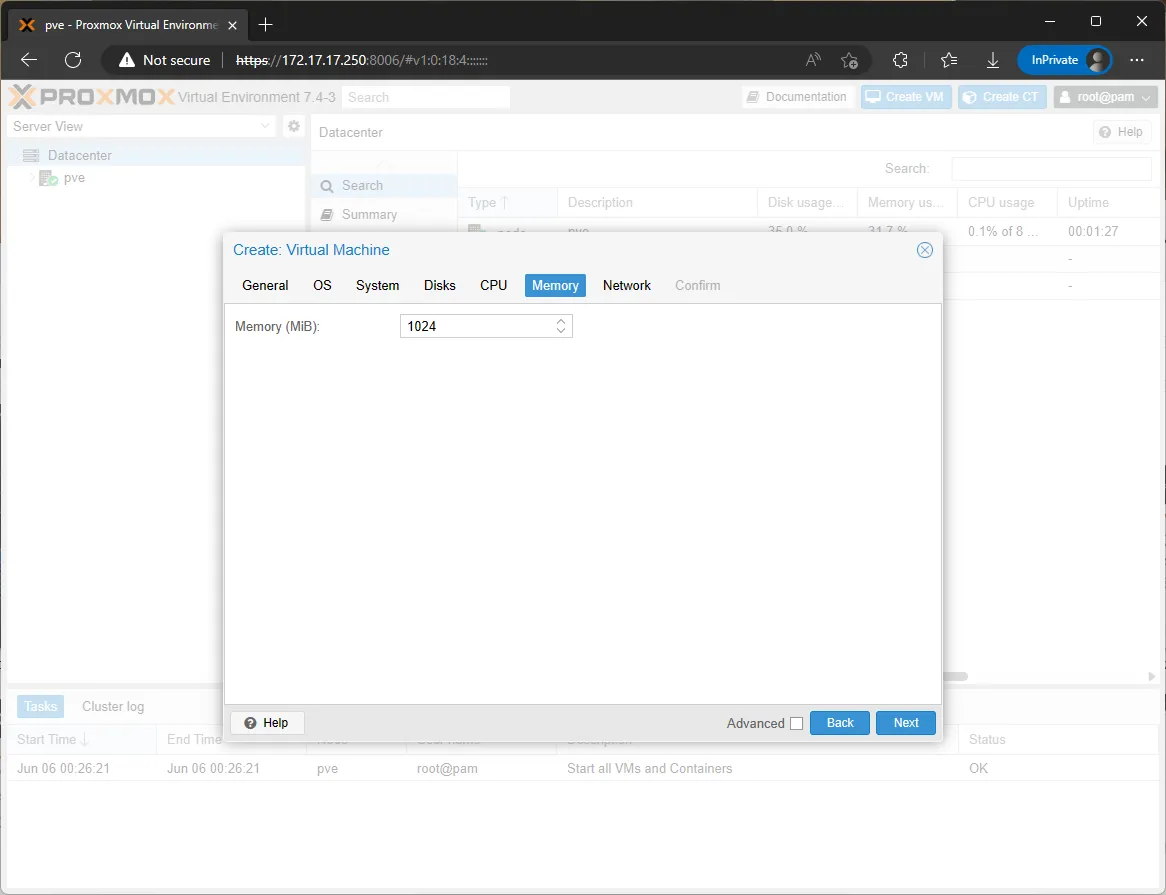
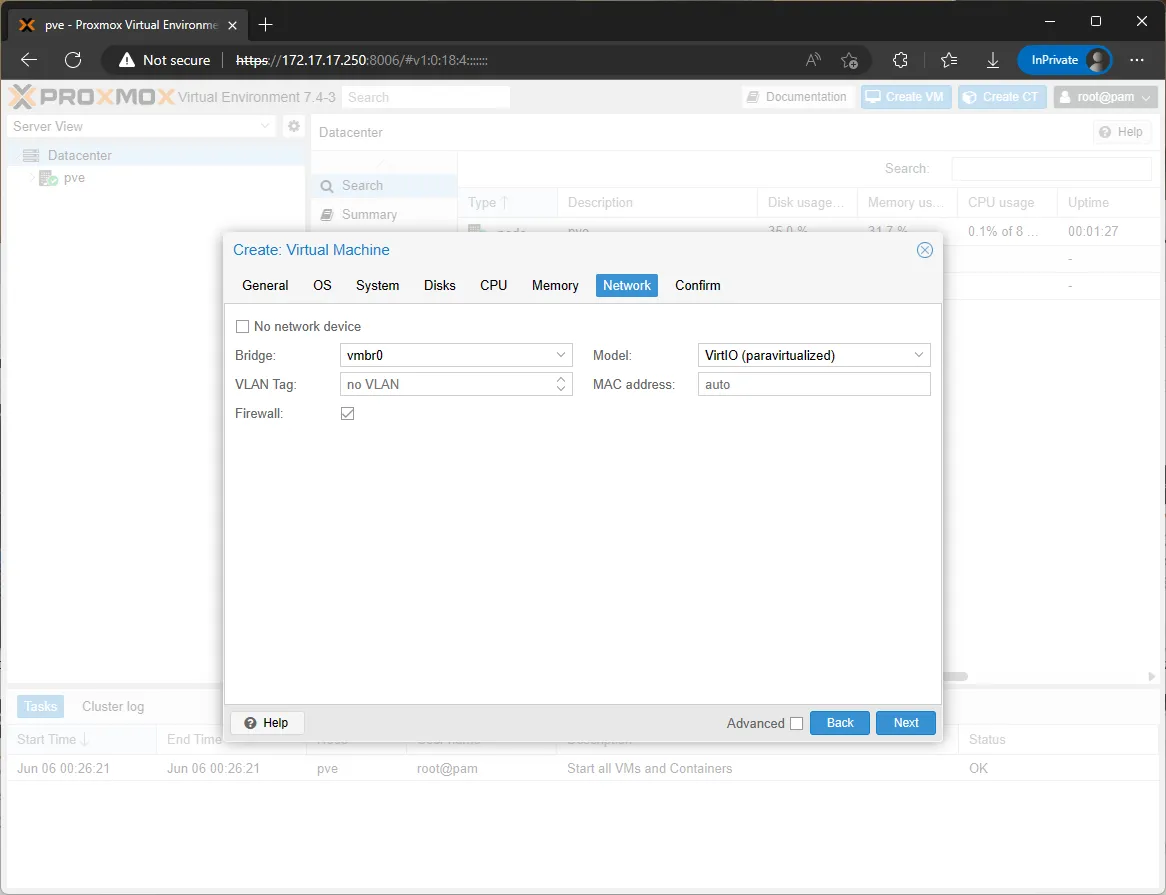
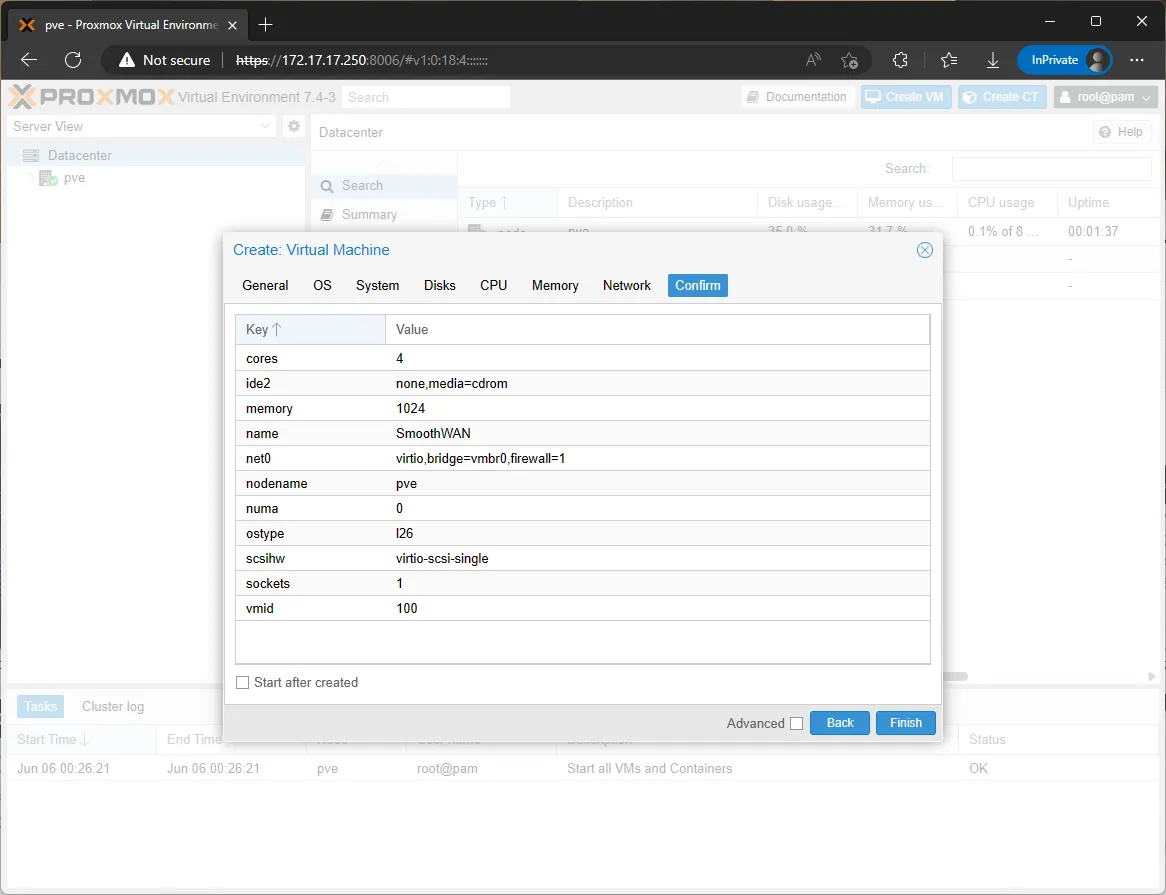
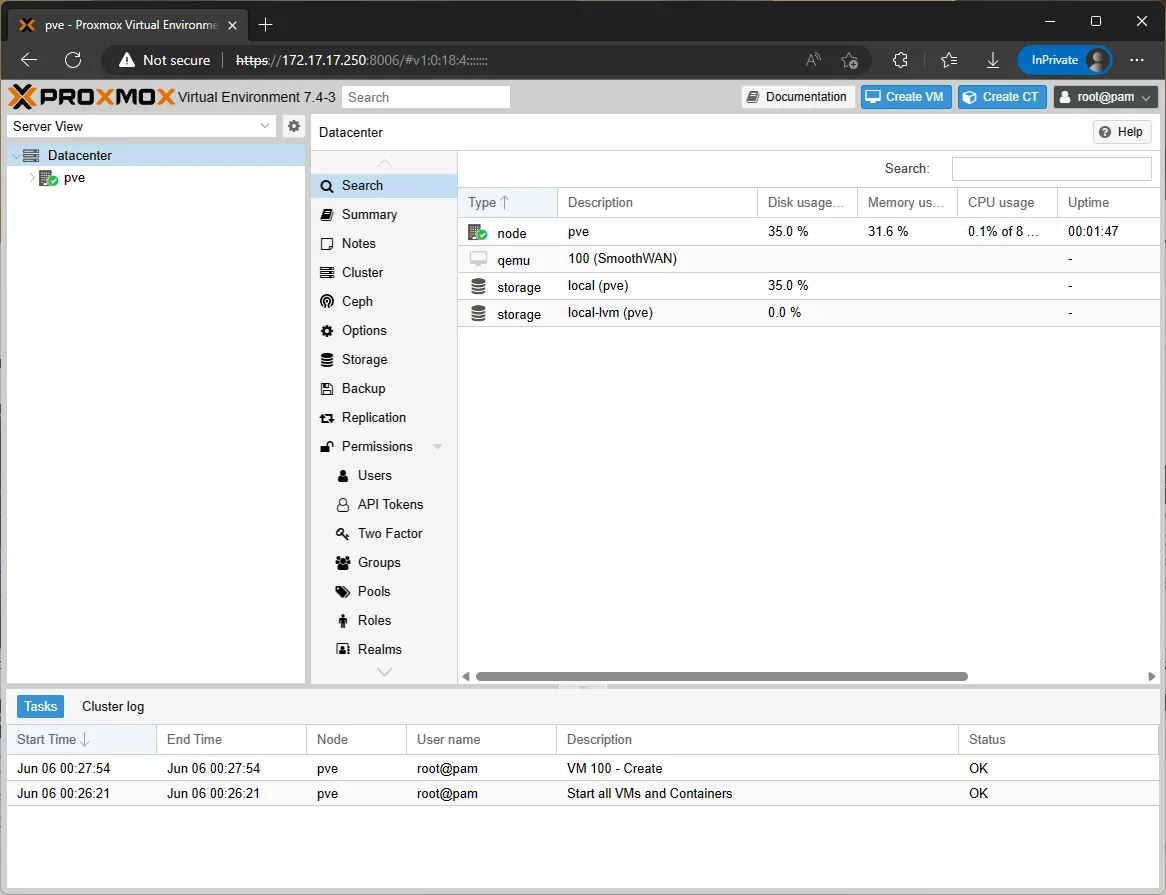
- Create a new VM:

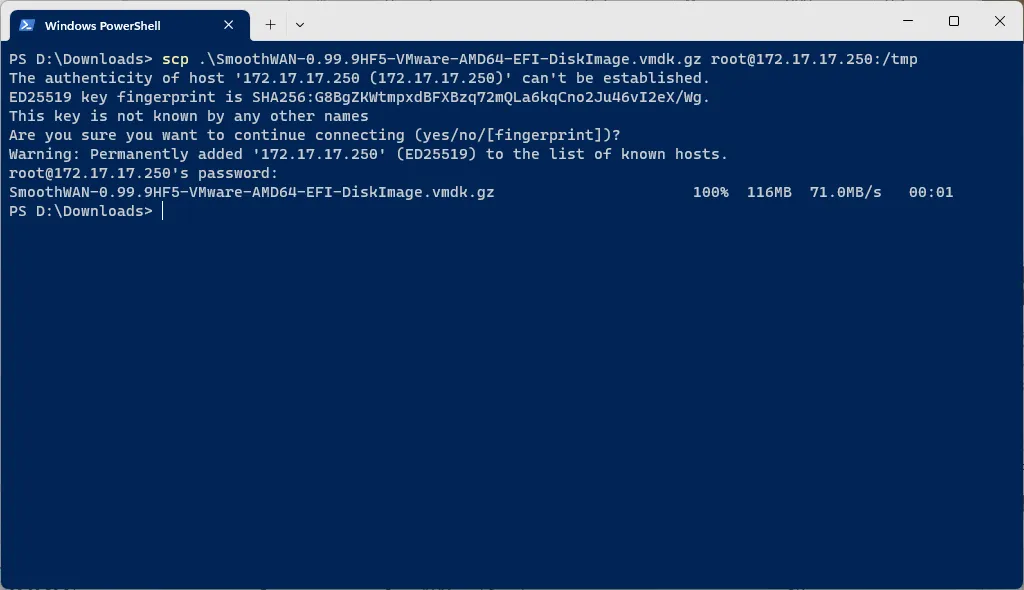
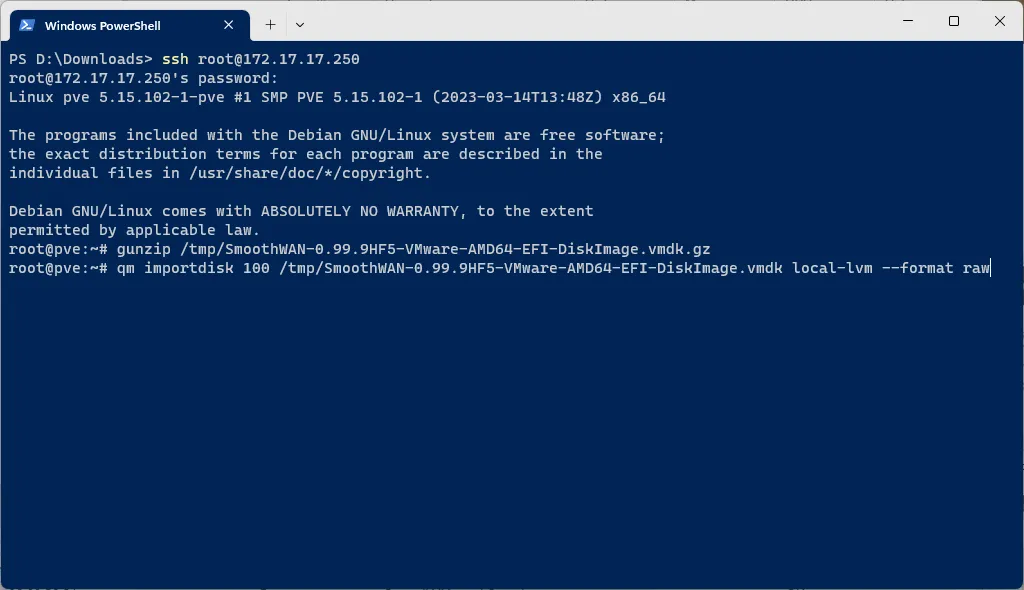
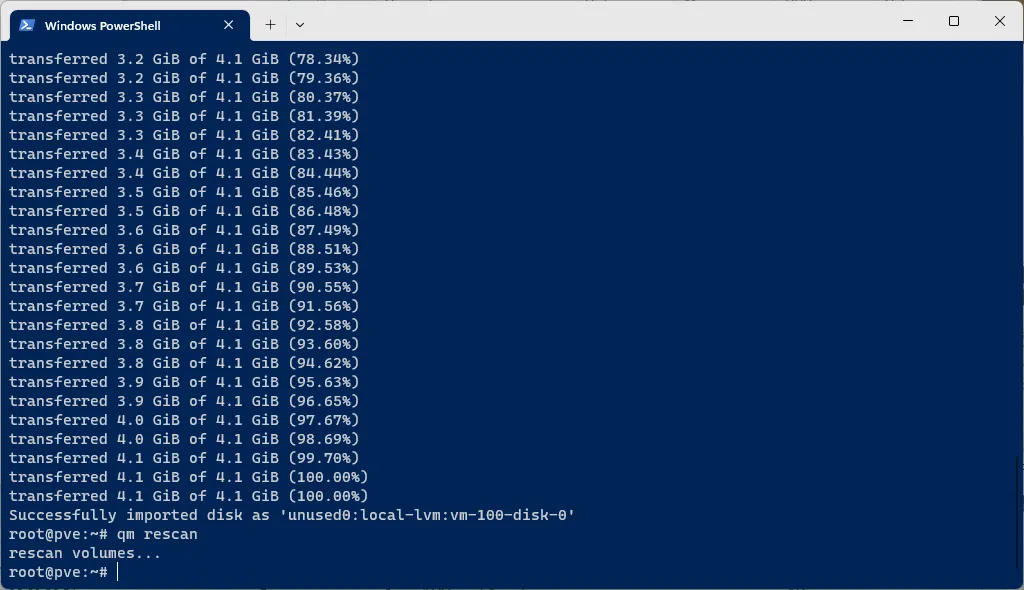
- Upload, extract and insert the image using the command line (works with Windows, MacOS, Linux):
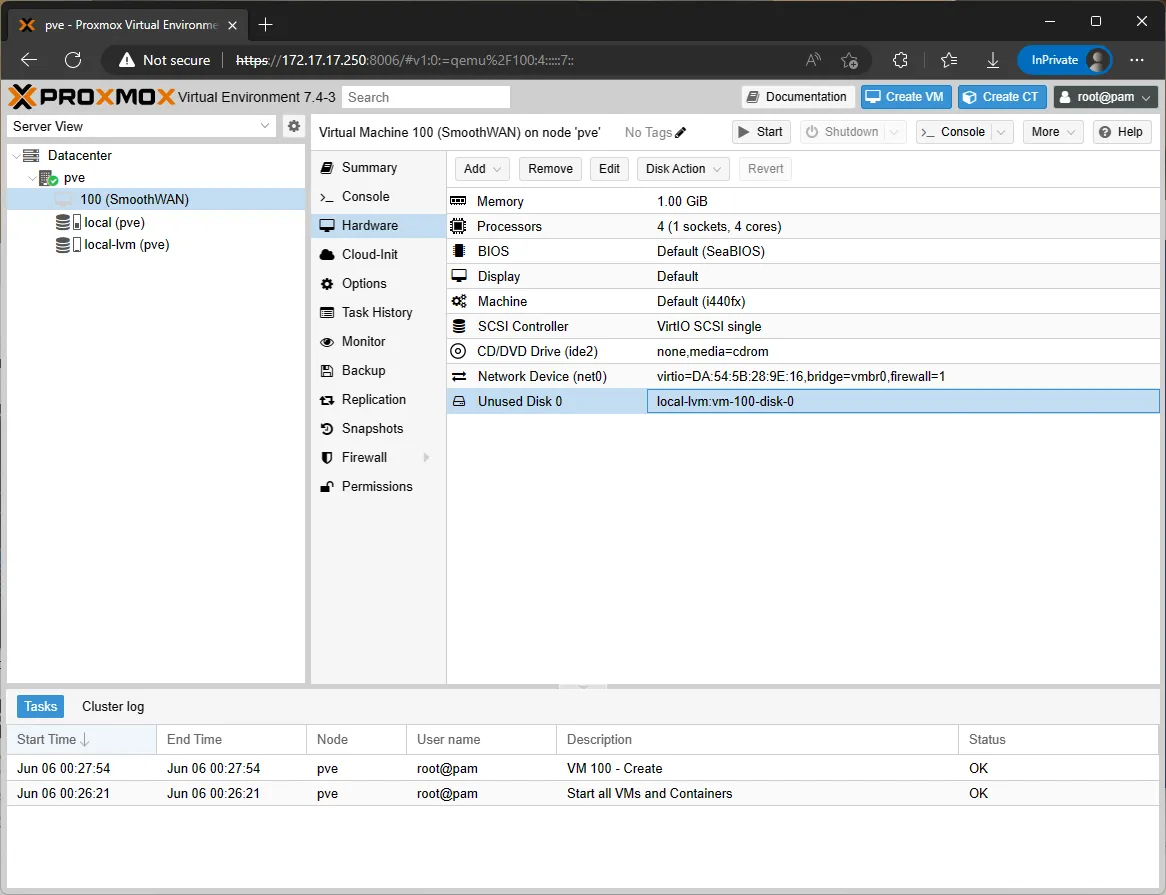
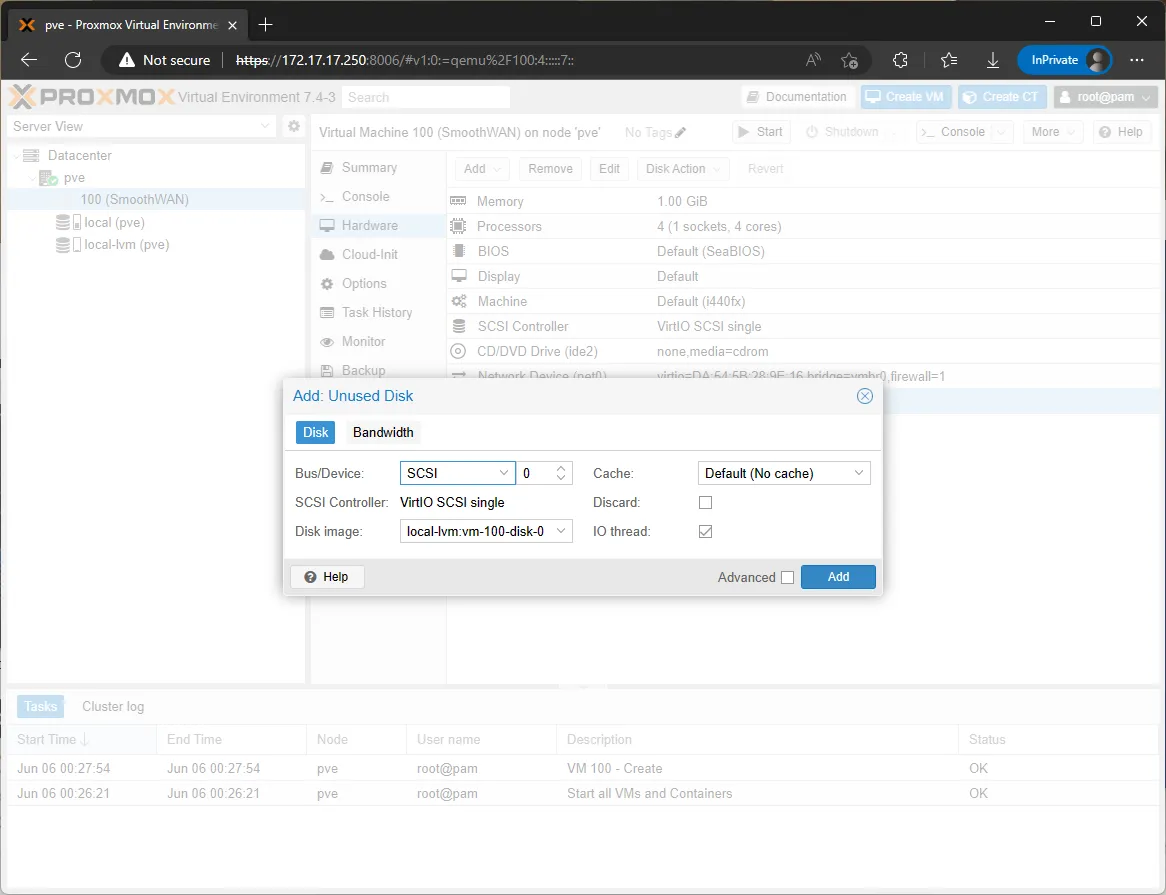
- Double-click the unused image to add the drive:
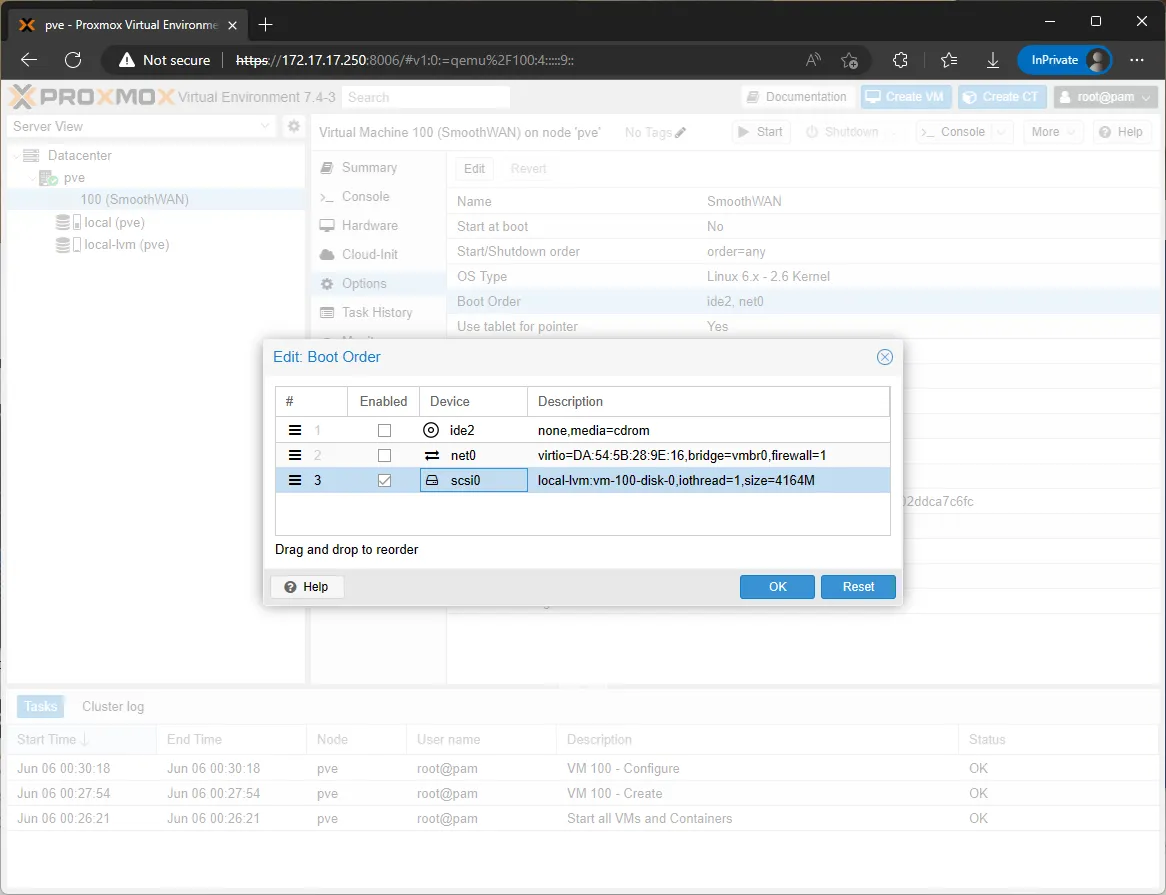
- Change the boot order in Options and enable the drive:
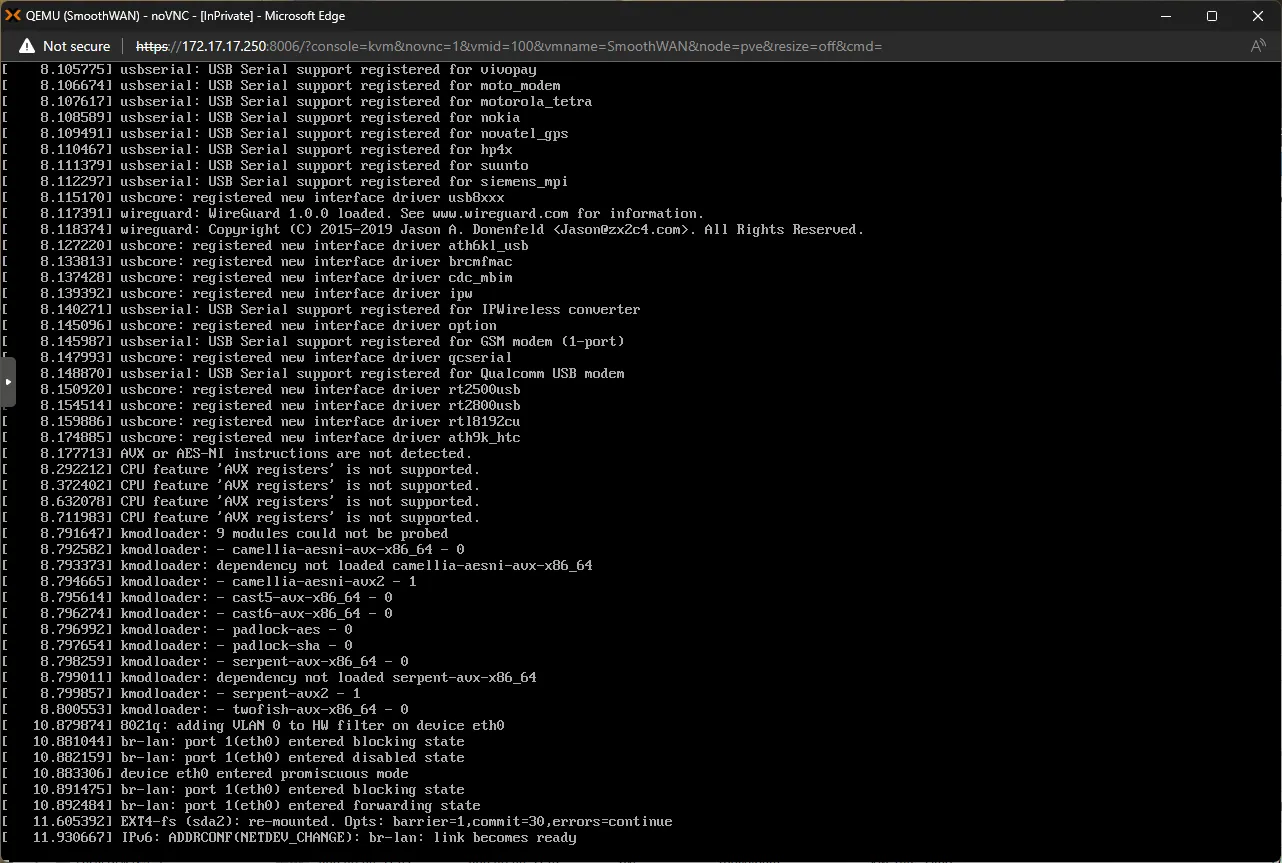
- Start the VM and click console to view SmoothWAN starting up (will reboot twice):
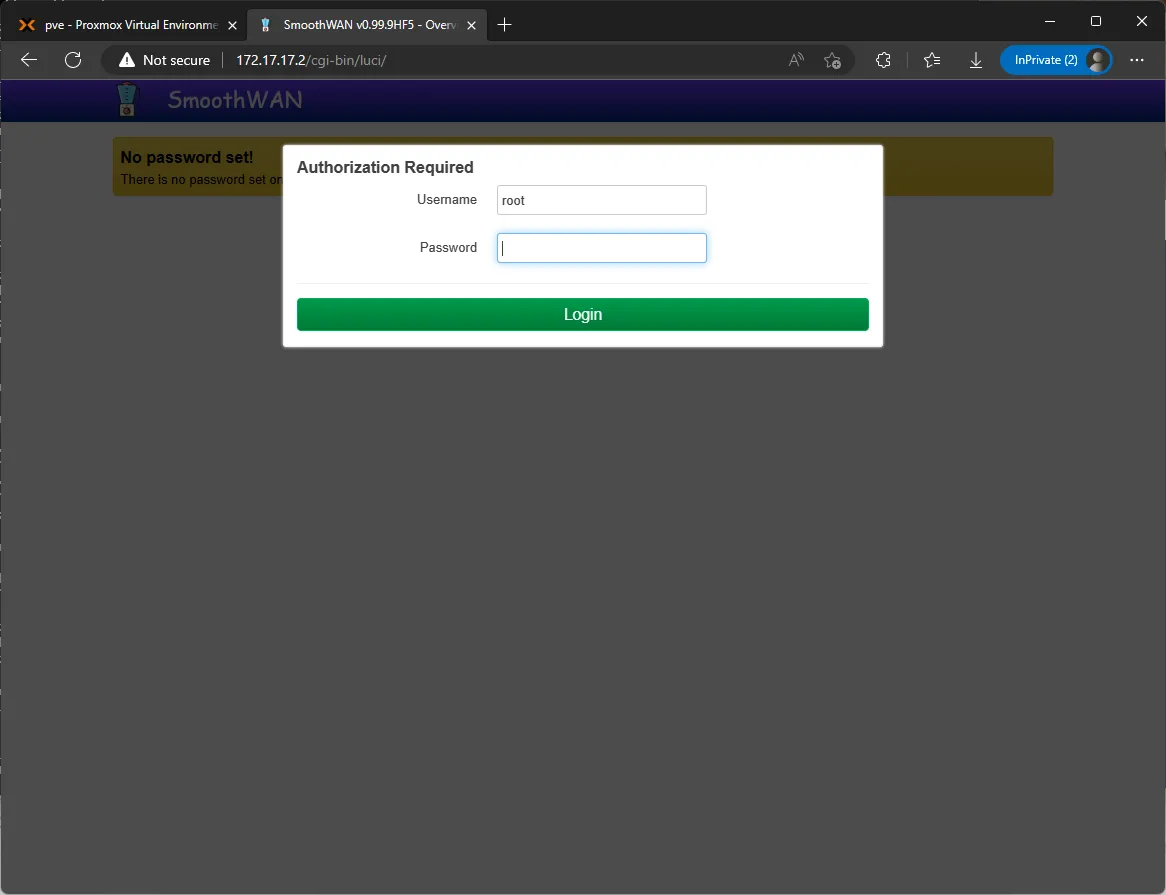
- Visit SmoothWAN WebUI (172.17.17.2) to check if it is running:
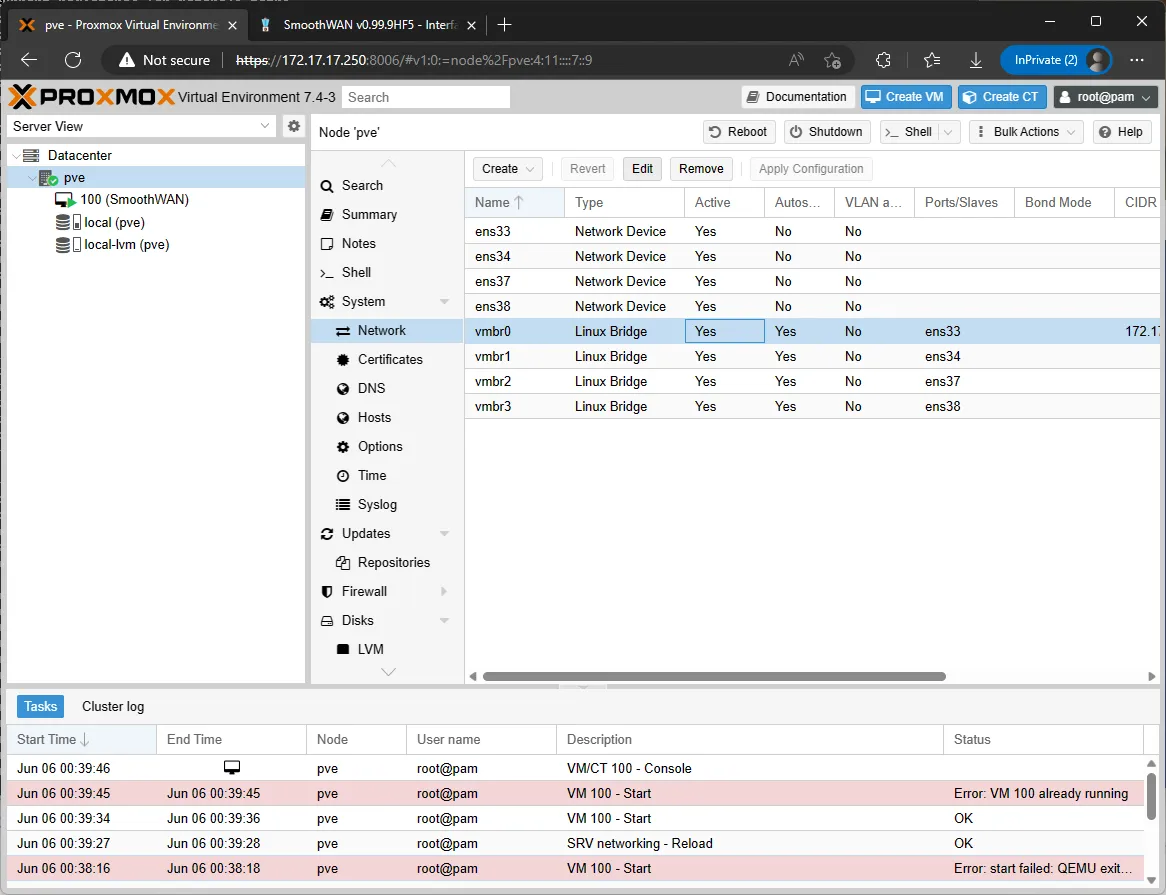
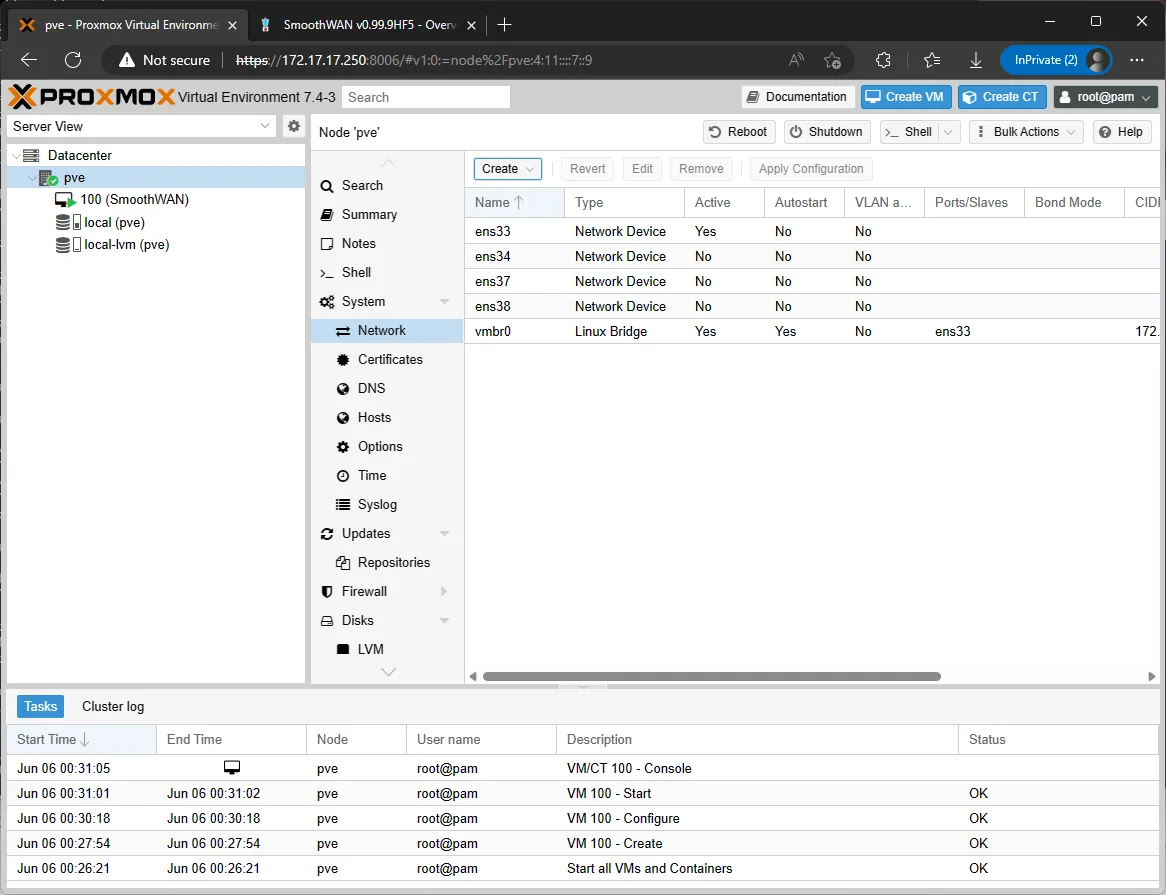
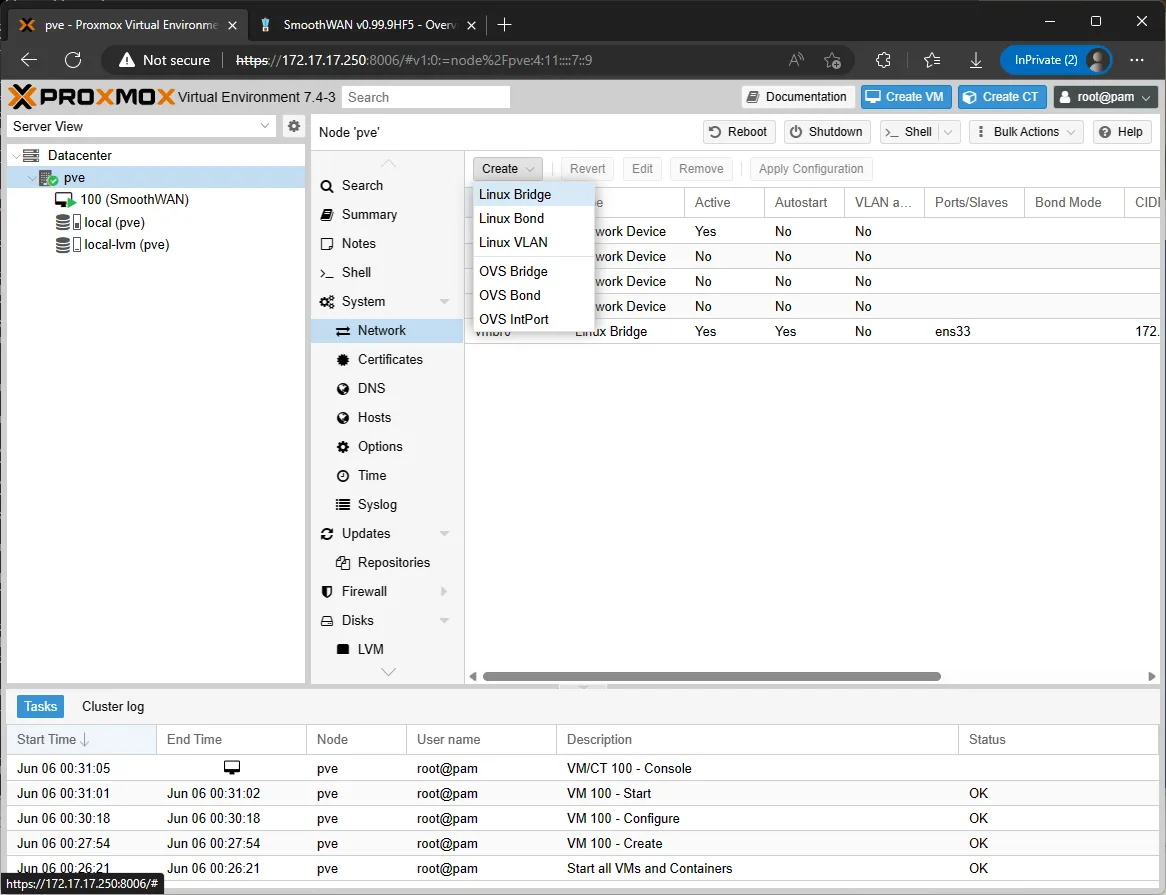
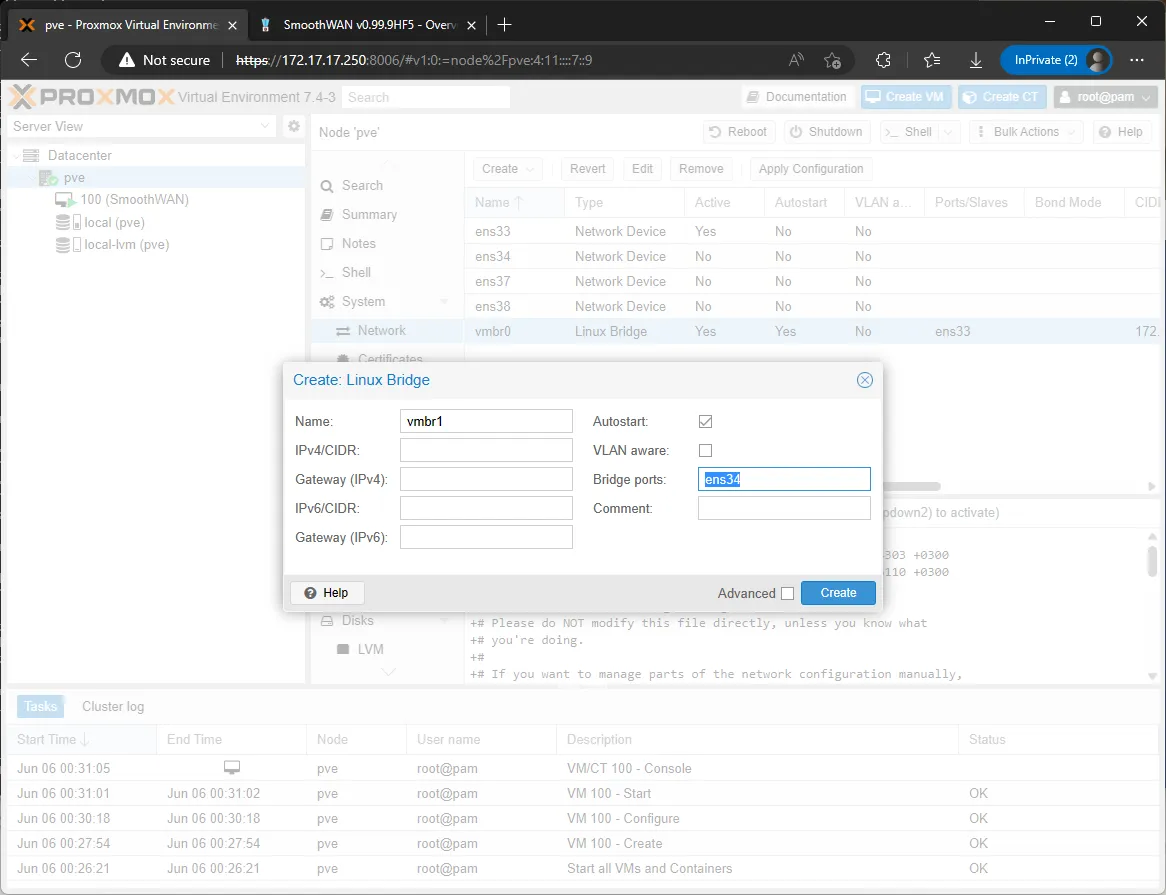
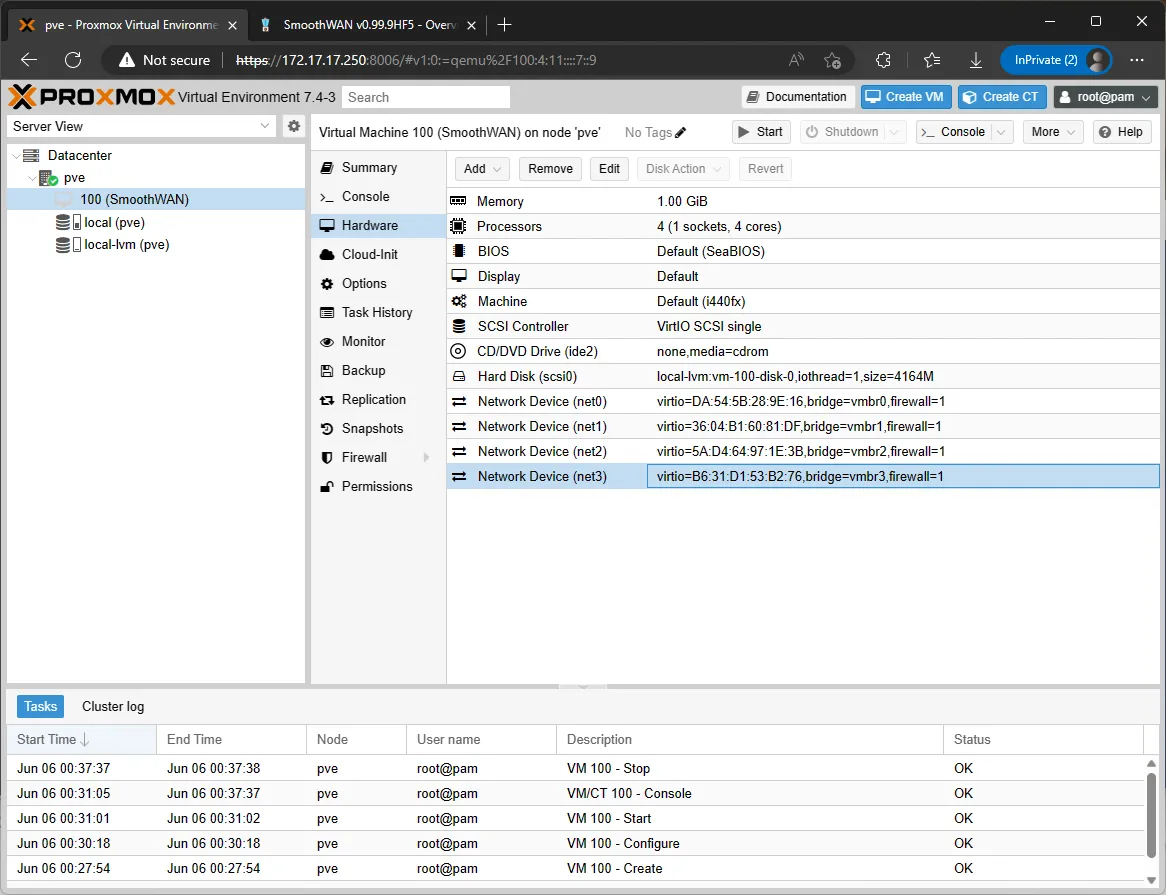
- Time to add the rest of the ethernet ports to SmoothWAN VM as WANs, assuming you have 3 extra ports in this example:
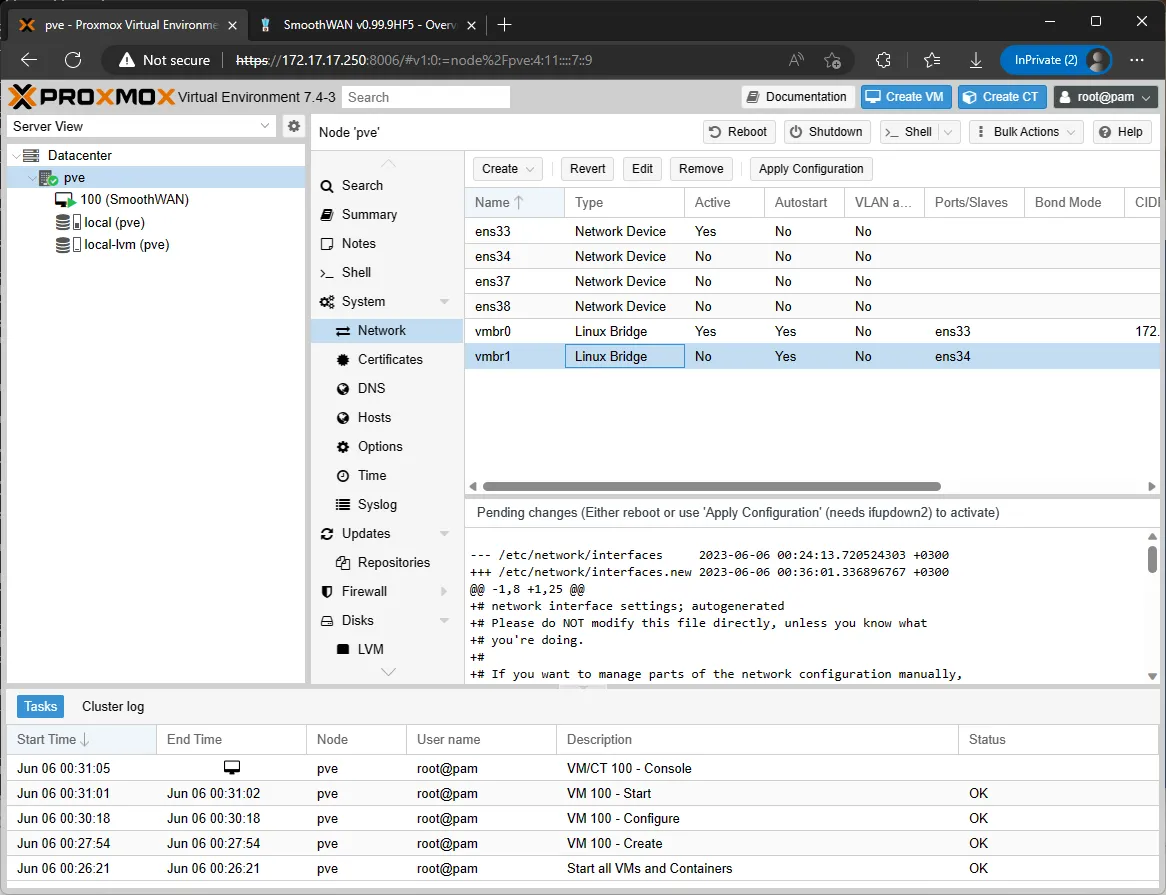
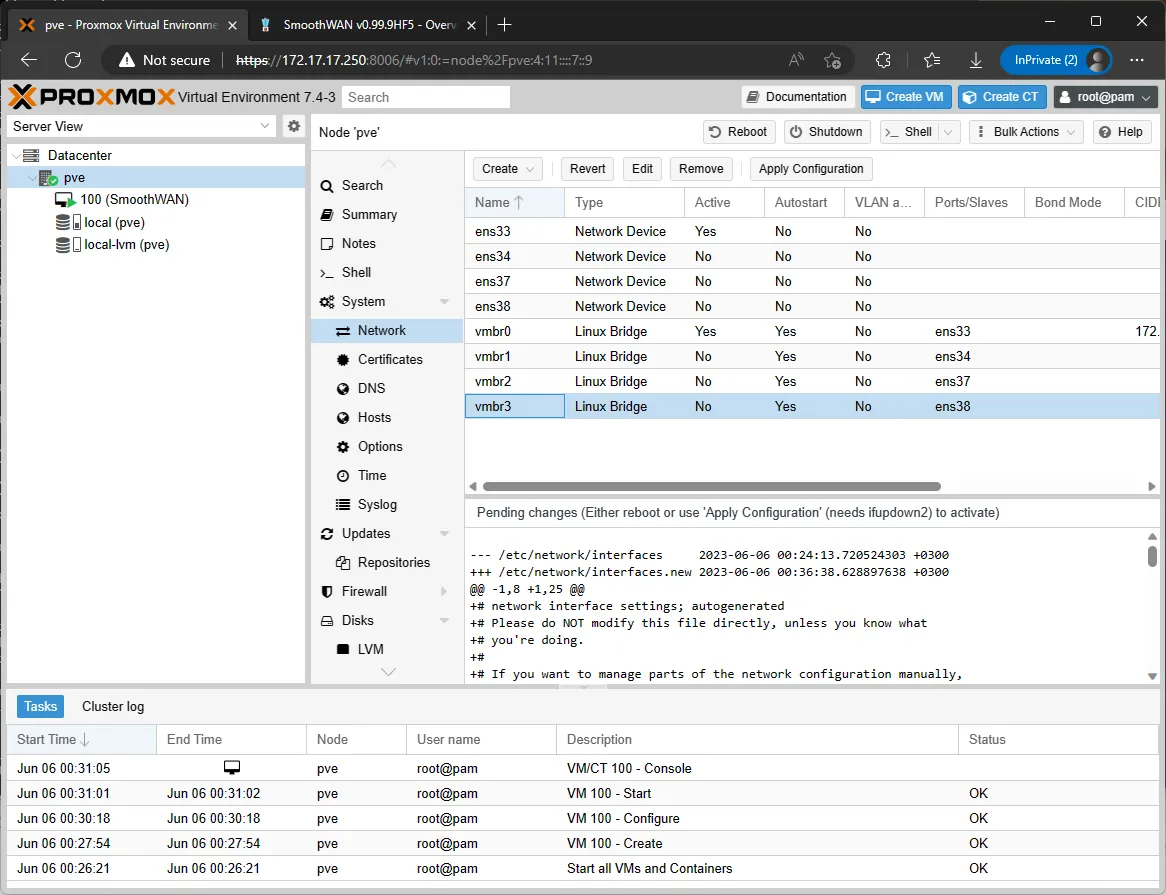
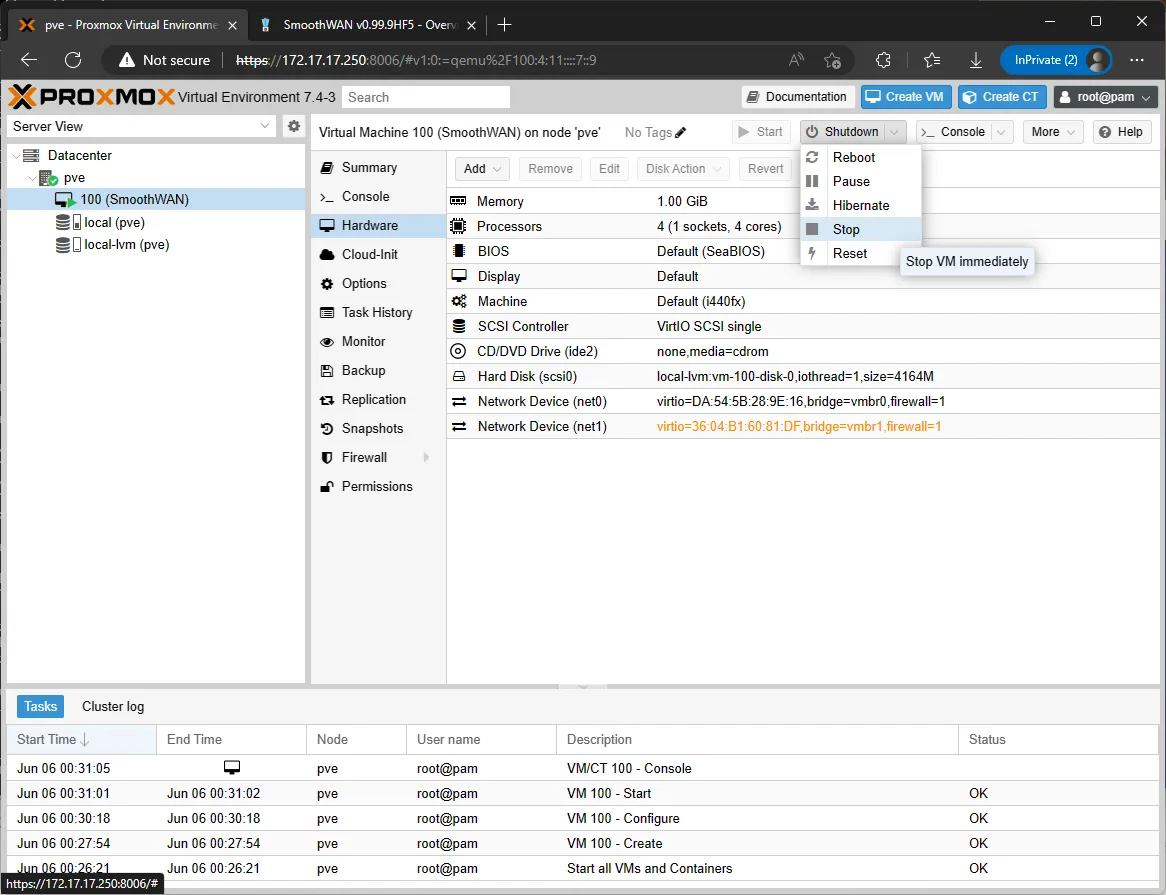
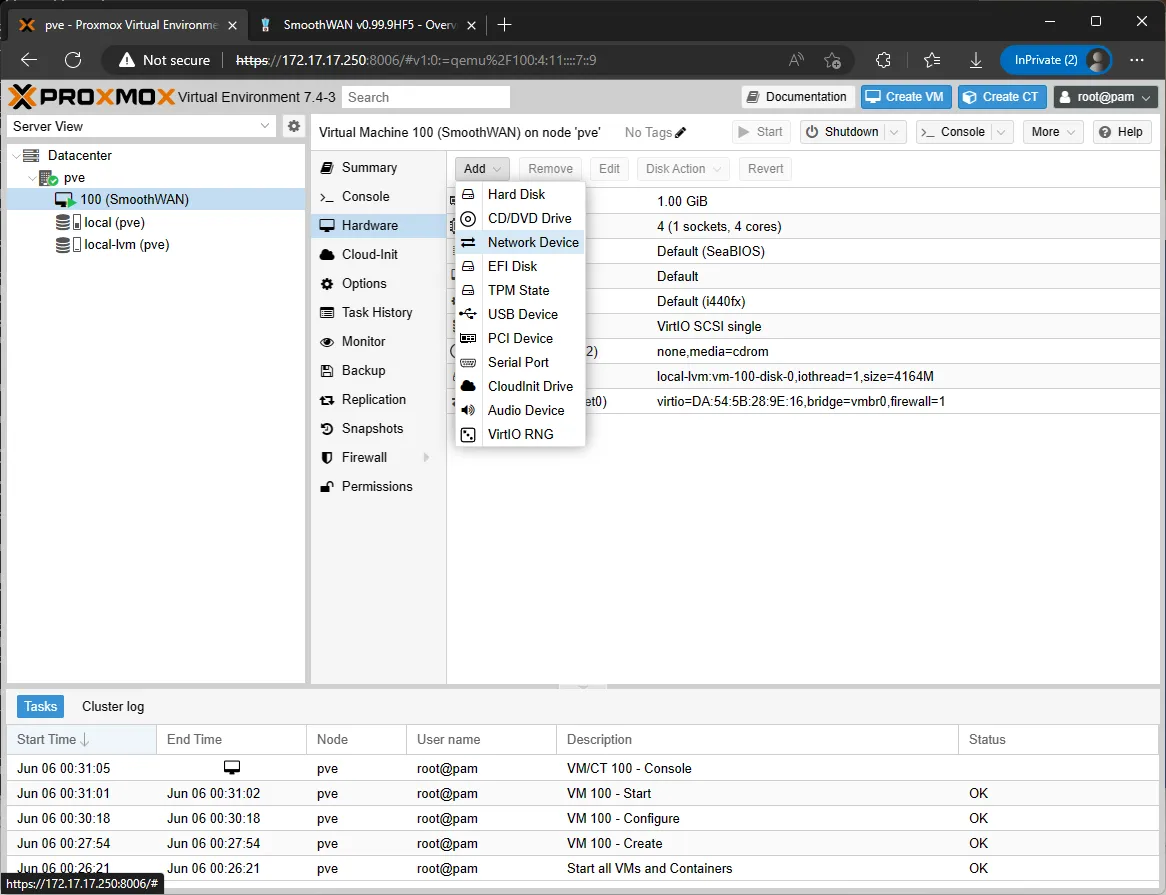
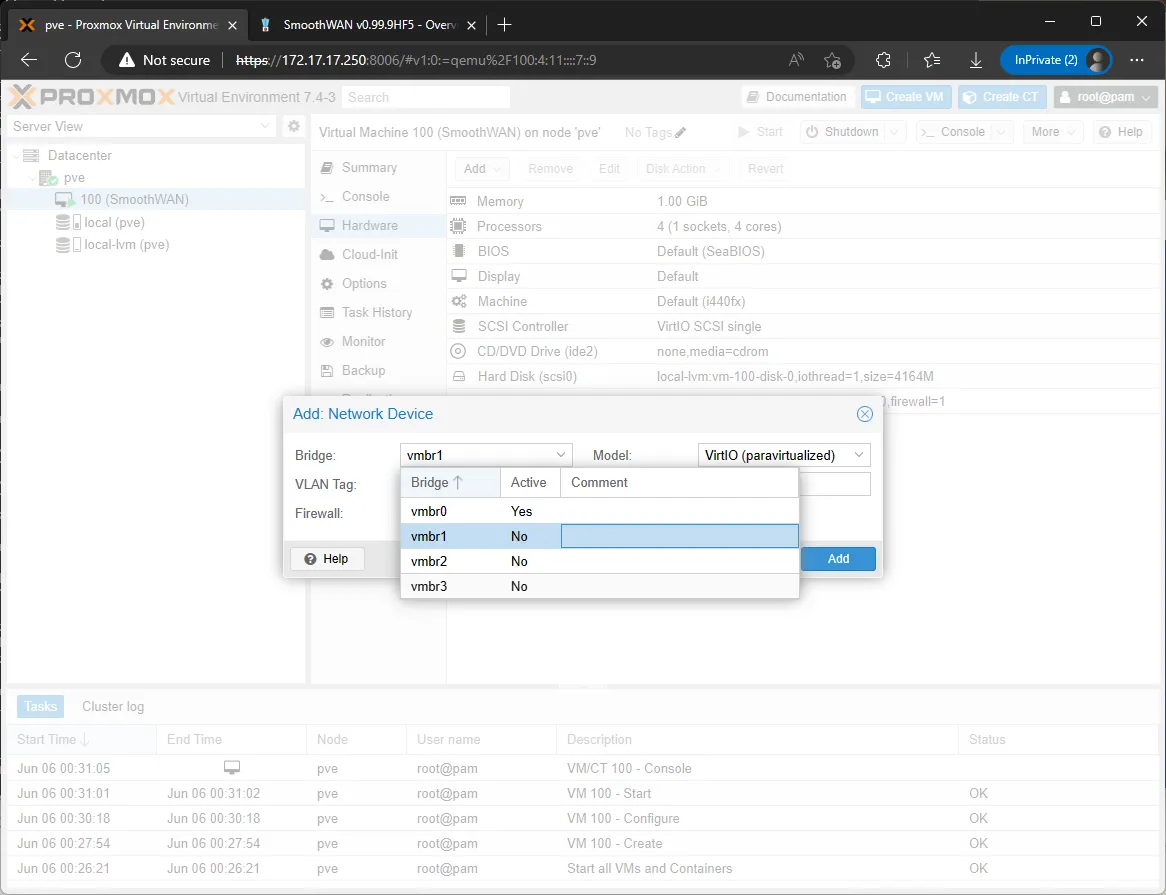
- Click Apply Configuration then head to the VM settings page and configure the new adapters after stopping the VM:
-
Do the same for the rest of the ports
-
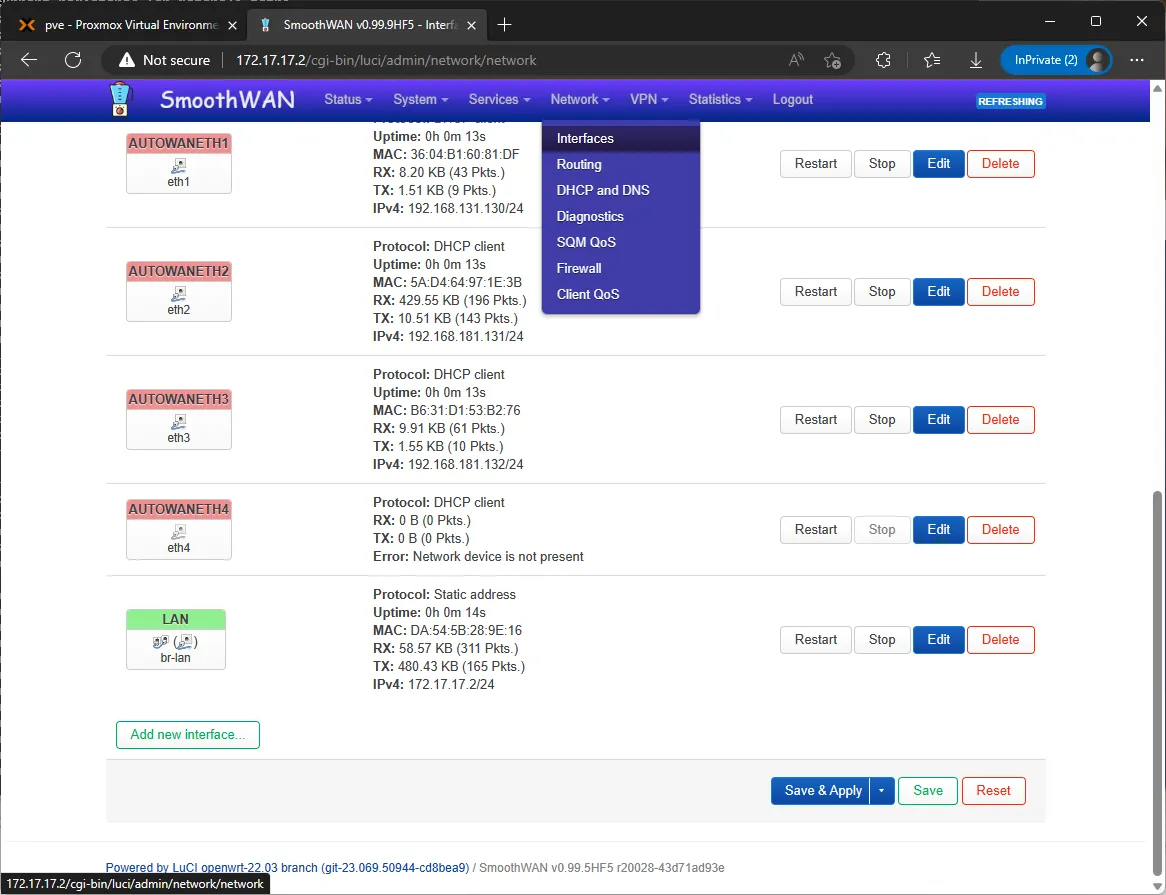
Start and check SmoothWAN setup page for the newly added WANs, a colourful network icon indicates that the interface is up (other than looking at the IP):
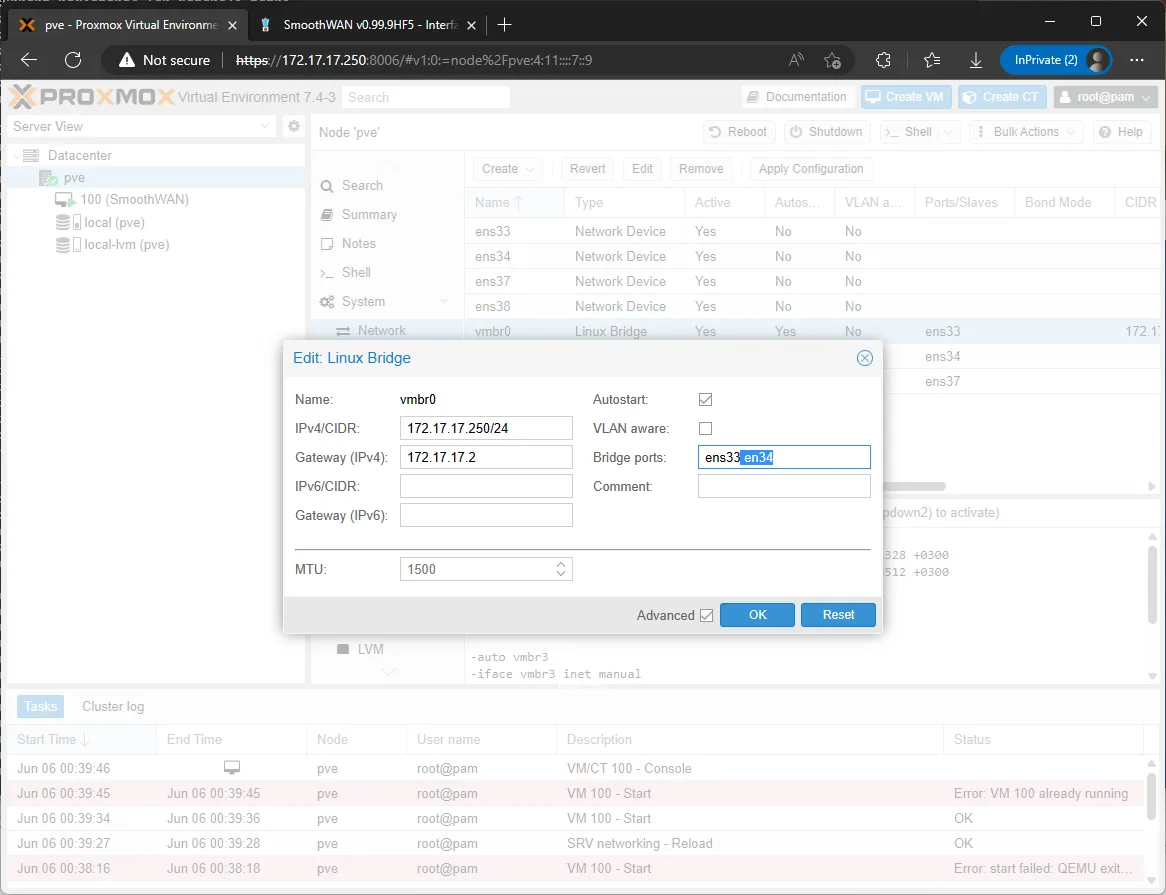
- Hint: to use 2 or more LAN ports (e.g. 2 WANs, 2 LANs in this example), remove the desired interface from the bridge (
vmbr1not removed in screenshots for clarity), and append interface to the first bridge, SmoothWAN uses the first (vmbr0) as LAN: